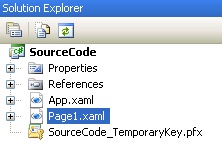
To begin with, a solution will be created which contains a single XAML Browser Application that contains:
- App.xaml - The default application definition file
- Page1.xaml - A default WPF page added by Visual Studio.

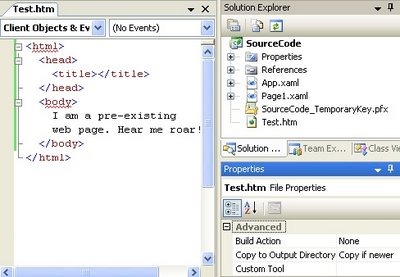
Before altering the code of the Page1.xaml file, we will add an HTML file that will serve as the HTML file that we want to display within the WPF browser application. After adding "Test.htm" to the project, You will need to right-click on the "Test.htm" file within the Solution Explorer. From the context menu, select "Properties". Within the "Properties" area, the following file properties need to have the corresponding values. A summary of all of the changes is displayed in the image below the property information.

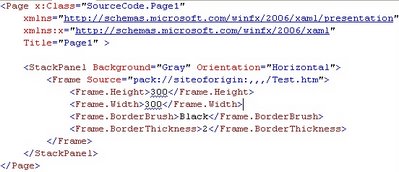
Now the fun begins. The Page1.xaml file needs to be edited to include the following XAML code (I apologize for using an image. The XAML code messes up the template provided by my blog provider):

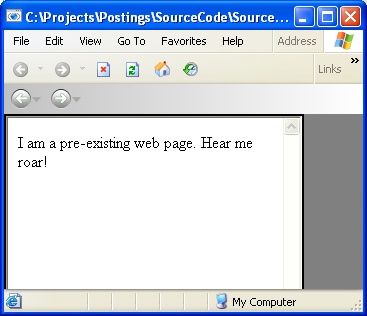
As you can see from the image below, we have successfully displayed a static web page within a WPF application. The way that this is accomplished is through the use of Resources. Within in our particular walk-through, the key factors are:
- Frame element - This houses the HTML file.
- Utilizing the Source property with the "siteoforigin" authority
- Setting the "Copy to Output Directory" property to copy the file to the output directory.

Utilization of Resources within WPF is incredibly important. The subject of this posting displays how to accomplish a very specific task. The methods displayed on this posting vary greatly based upon what you resource you may be using and how you intend to use the resource. I strongly recommend learning more about resources if your desired task strays beyond the content displayed in this posting.. The source code from this example is available here.
No comments:
Post a Comment